
That funky smell coming from your kitchen sink isn’t just unpleasant—it’s a cry for help from your garbage disposal. A great, simple trick is to run some ice cubes and citrus peels through it to scrub the blades, then follow up with a bit of baking soda and vinegar to dissolve the gunk and freshen things up. A little routine maintenance like this goes a long way in preventing clogs, making the appliance last longer, and keeping your kitchen from smelling like a compost bin.
Why Cleaning Your Disposal Is a Non-Negotiable Kitchen Task
Let’s be honest, it’s easy to forget about your garbage disposal until something goes wrong. But over time, a nasty film of grease, tiny food bits, and bacteria builds up on the grinding parts and inside your drain pipes. That’s where those persistent kitchen odors come from, the kind no air freshener can seem to conquer.
But a bad smell is just the start. This slimy buildup can cause some real headaches for both your disposal and your plumbing.
- It Loses Its Punch: When the blades are caked in grime, they just can’t grind as well. This forces the motor to work overtime, which can lead to it burning out way too soon.
- It Causes Serious Clogs: That sludge of old food can harden into a stubborn blockage, not just in the disposal but deeper in your pipes. This can get particularly nasty in the P-trap under your sink. You can learn more about how this works by checking out our guide at https://professional-plumbers-denver.com/blogs/what-is-p-trap/.
- It Invites Unwanted Guests: Nothing attracts drain flies, fruit flies, and roaches like a buffet of decomposing food. If you’re dealing with this, you might find some useful tips on preventing pests in your kitchen drain.
Being proactive is always better (and cheaper) than reacting to a problem. Cleaning your disposal every 1 to 2 weeks is the secret to stopping major clogs and odors before they start. It also reduces the chance you’ll need a professional plumber, which can easily cost between $75 and $200 a visit. In fact, simply ignoring this task leads to a 30% increase in disposal breakdowns within the first two years.
Get Your Gear and Put Safety First
Before we roll up our sleeves and get to work, let’s talk about the two most important things: gathering your supplies and—most critically—safety. You’re dealing with a powerful appliance, so taking a moment for precaution is non-negotiable.
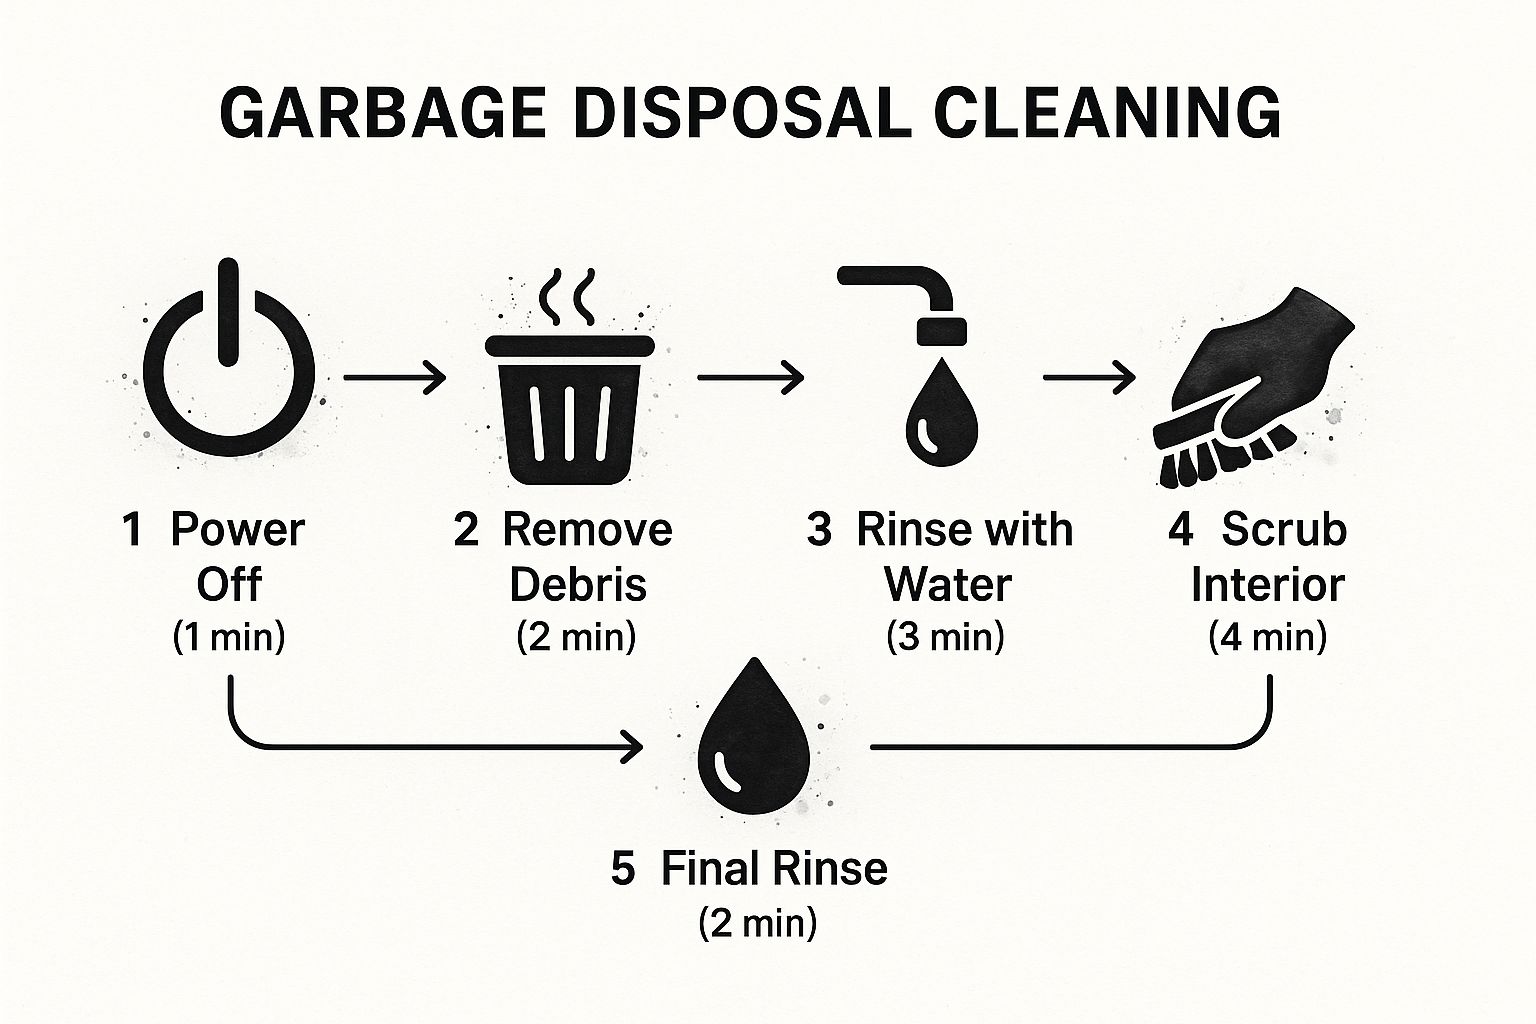
Your very first move, before you even think about cleaning, is to completely disconnect the power to the garbage disposal.
This doesn’t mean just flipping the wall switch. You need to head over to your home’s main electrical panel and switch off the specific circuit breaker that powers the disposal. This is the only way to be 100% sure the unit can’t accidentally turn on while you’re working.
I can’t stress this enough: relying on the wall switch is a rookie mistake that can lead to serious injury. I’ve heard stories. Always kill the power at the source before your hands go anywhere near that drain.
Your Garbage Disposal Cleaning Toolkit
With the power safely off, it’s time to gather your cleaning arsenal. The great thing is, you likely already have everything you need tucked away in your kitchen. No special chemicals required.
Here’s a quick rundown of the simple, effective tools we’ll be using.
| Item | Purpose | Where to Find It |
|---|---|---|
| Ice Cubes | Act as a natural abrasive, physically scrubbing the blades and chamber. | Your freezer |
| Baking Soda & Vinegar | Creates a fizzing action to break down grime and neutralize foul odors. | Pantry/under the sink |
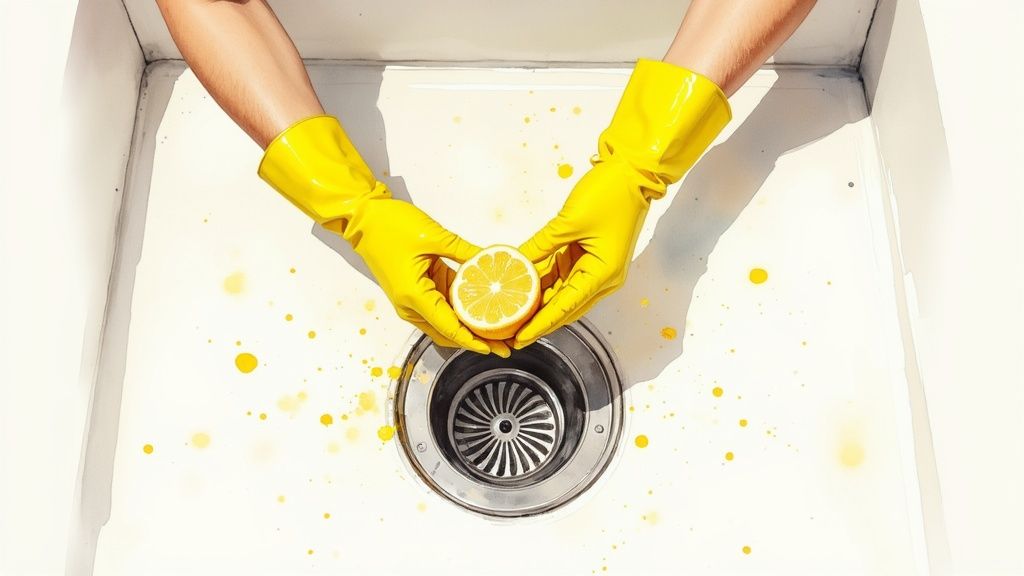
| Citrus Peels (Lemon/Orange) | A natural deodorizer that leaves a fresh, clean scent behind. | Your fruit bowl |
| Long-Handled Brush | Essential for scrubbing the gunk from the underside of the splash guard. | Kitchen drawer |
Once you’ve got these items handy and have double-checked that the power is off, you’re all set. We’re ready to tackle that grime and get your disposal smelling fresh again.
Your Simple Routine for a Fresh Disposal
You don’t need some complicated, time-consuming ritual to keep your garbage disposal clean. The real secret is just building a simple routine to stop grime from building up and keep those weird kitchen smells from ever starting. Honestly, a little consistency beats a big, aggressive deep clean any day.
For daily upkeep, prevention is your best friend. After you’re done using the disposal, just let the cold water run for an extra 20 to 30 seconds. That one small action flushes out any leftover bits of food so they don’t sit and rot in the grinding chamber. Another quick trick I like is tossing in a few leftover citrus peels from a morning orange or lemon—it’s a great natural deodorizer.
The Weekly Refresh: Two Easy Methods
Set aside just five minutes once a week for a slightly deeper clean. You’ve got a couple of great options that use stuff you probably already have in your kitchen. I usually alternate between them each week to get the best of both worlds.
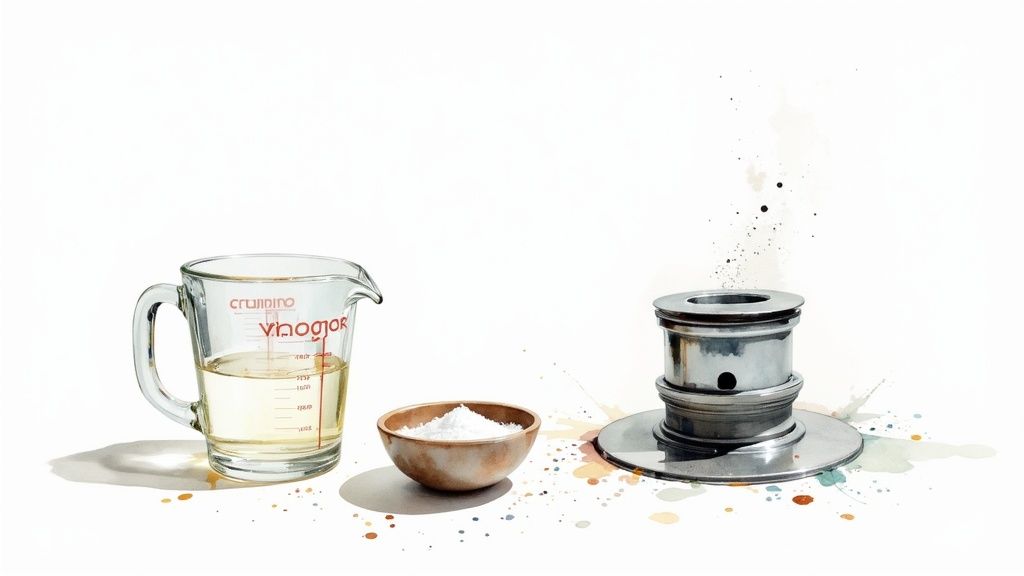
First up is the classic baking soda and vinegar fizz. This combination is a champ at breaking down that greasy, gunky sludge that loves to coat the inside of your disposal. Just pour about a half-cup of baking soda down the drain, followed by a cup of white vinegar. You’ll hear it fizz and bubble—let that reaction do its thing for about 10-15 minutes. Then, flush everything out with hot water while running the disposal.
The second method gives the disposal a good physical scrubbing with ice and rock salt. Think of it as sending a tiny cleaning crew in there to scour the gunk right off the blades and chamber walls. It’s surprisingly effective.
- Start by filling the disposal about halfway with ice cubes.
- Next, pour a big handful of coarse rock salt (kosher salt works too) right over the ice.
- Finally, turn on the cold water and run the disposal until you hear the grinding stop. The ice and salt work together to physically scrape away all that stubborn, stuck-on residue.
The big takeaway here is that you don’t need harsh, store-bought chemicals. The ice-and-salt trick is purely mechanical, making it a safe and powerful way to clean your disposal without dumping anything caustic down your pipes.
If you’ve cleaned the disposal thoroughly and your sink still seems to be draining slowly, the problem might be further down the line. For tips on dealing with more serious blockages, take a look at our guide on how to unclog a drain pipe.
Tackling Stubborn Grime and Odors
So, you’ve tried the ice cube trick and the vinegar fizz, but there’s still a funky smell hanging around your sink. When that happens, it’s a clear sign you need to dig a little deeper. The problem is usually hidden grime that a simple rinse-and-grind just can’t reach.
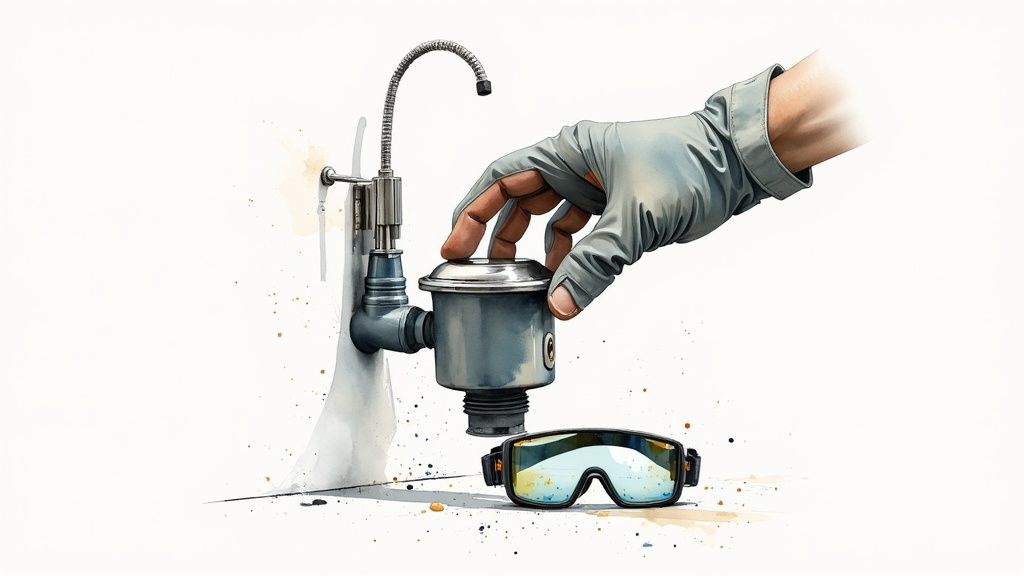
The number one culprit for those stubborn smells is almost always the underside of the black rubber splash guard. It’s the perfect hiding spot for slimy, gross gunk to build up where you can’t see it. Before you even think about reaching in there, always disconnect the power at the circuit breaker. Safety first.
Grab an old toothbrush, some dish soap, and warm water. You’ll have to get in there, carefully lift the rubber flaps, and scrub everything you can reach underneath. It’s not the most pleasant job, I’ll admit, but getting rid of that buildup is often the key to finally knocking out that persistent kitchen sink smell.
When to Bring in the Big Guns: Commercial Cleaners
If your DIY efforts still aren’t cutting it, it might be time for a commercial-grade cleaner. These products are specifically designed to obliterate the tough grease and caked-on food particles that your home remedies couldn’t touch.
There are a couple of types that work really well:
- Enzymatic Cleaners: Think of these as a natural solution. They use enzymes to literally eat away at organic waste, but without all the harsh chemicals. This makes them a much safer bet for your plumbing and septic system.
- Foaming Cleaners: These are pretty satisfying to use. They expand to fill the entire disposal chamber, getting into every nook and cranny to scrub the walls and blades clean.
Using these products the right way can make a huge difference. In fact, a proper cleaning with a specialized solution can cut down on harmful microbes by up to 85%, which is great for preventing cross-contamination in your sink. It pays to be consistent, too—households that clean their disposals every couple of weeks report a 50% reduction in bad smells. For a broader look at waste management, there’s some interesting data over on WorldBank.org.
A Quick Word of Caution: Always follow the manufacturer’s directions to the letter. Using these products too often or incorrectly could potentially damage older pipes or your septic system. It’s best to think of them as a powerful, targeted solution for tough problems, not as part of your weekly cleaning routine.
8 Things You Should Never Put Down Your Garbage Disposal
The best way to keep your garbage disposal clean is, frankly, to not let it get so gross in the first place. This means shifting your mindset from cleaning up a mess to preventing one. Your disposal is a powerful grinder, but it’s definitely not a black hole for every scrap of food that comes off your plate.
Certain things are just plain bad for it. They’re notorious for causing clogs, burning out the motor, and creating that awful gunk that stinks up your whole kitchen. Knowing what these culprits are—and why they’re so damaging—is the single best thing you can do to avoid plumbing headaches and expensive repair bills down the road.
The Disposal’s Worst Enemies
Some of the most common kitchen scraps can absolutely wreck your disposal and pipes. Your trash can or compost pile is a much better home for these items.
- Grease, Fats, and Oils: Sure, liquid grease goes down easy, but it doesn’t stay that way. It cools and solidifies inside your pipes, creating a sticky, stubborn blockage that grabs onto every other bit of food that comes its way.
- Starchy and Fibrous Foods: Potato peels, leftover pasta, rice, and even celery are huge problems. Starches swell with water and turn into a thick, cement-like paste. Fibrous veggies like celery and asparagus can wrap around the blades like string, jamming the motor solid.
- Coffee Grounds: This one surprises a lot of people. Coffee grounds don’t wash away cleanly. Instead, they clump together and build up into a dense, heavy sludge at the bottom of your pipes, eventually causing a complete clog.
- Eggshells and Bones: There’s an old myth that eggshells sharpen the blades. They don’t. The thin, stringy membrane inside the shell can get loose and wrap around the grinder. And hard materials like animal bones are just too tough—they can dull, bend, or even break the blades.
Keeping these offenders out of your sink is a game-changer. You’ll drastically reduce the strain on the motor and cut off the primary source of clogs and foul odors. It’s a simple habit that can add years to the life of your appliance.
To make it even clearer, here’s a quick-reference guide to what should always go in the trash or compost bin.
What Not to Put Down Your Garbage Disposal
| Item to Avoid | Reason for Damage | What to Do Instead |
|---|---|---|
| Fats, Oil & Grease | Solidifies in pipes, creating sticky clogs. | Pour into a disposable container and throw it in the trash. |
| Coffee Grounds | Accumulate into a dense, sludgy sediment. | Add to your compost pile or throw them in the trash. |
| Pasta, Rice & Bread | Expand with water into a glue-like paste. | Scrape them into the garbage can. |
| Bones & Shells | Too hard for the blades; can cause jams or damage. | Dispose of them in the trash. |
| Eggshells | The stringy membrane can wrap around the blades. | Compost them or throw them away. |
| Fibrous Vegetables | Strands from celery, corn husks, etc., can tangle the motor. | Put them in your compost or trash. |
| Potato Peels | Turn into a starchy paste that clogs drains. | Compost or throw them in the trash. |
| Pits & Seeds | Hard pits (avocado, peach) can damage the blades. | Toss them in the compost or garbage. |
Treating your disposal with a little respect goes a long way. But sometimes, even with the best care, an old unit just gives out. If you find yourself facing a replacement, it’s helpful to know the average cost of garbage disposal installation so you can budget accordingly.
Common Questions About Garbage Disposal Care
Even with a solid cleaning routine, it’s normal for questions to pop up about your garbage disposal. Hearing a weird sound or smelling something funky can be a little unnerving, but knowing the answers ahead of time can save you a lot of stress. Let’s tackle some of the most common things homeowners wonder about.
Getting the Basics Right
One of the biggest debates I hear is about water temperature. Should you use hot or cold water when running the disposal? The answer is simple and non-negotiable: always use cold water.
Hot water is your enemy here. It melts grease and fats, which seems like a good thing, but it just sends them further down your pipes. Once they cool off, they solidify and create a nasty, hard-to-reach clog. Cold water does the opposite—it keeps grease solid, allowing the blades to chop it up and flush it away properly.
Another thing people often ask is how often they really need to deep clean their unit. A quick daily rinse is great, but for a real clean with ice cubes or a vinegar and baking soda mix, aim for every one to two weeks. This simple habit stops the slow, quiet buildup of gunk that eventually leads to bad smells and clogs.
Troubleshooting and Best Practices
So, what do you do when the disposal just hums? That dreaded hum almost always means something is jammed. Your first move, and this is critical, is to turn off the power at the circuit breaker. Never, ever stick your hand down there.
Most disposals have a small hexagonal hole on the very bottom of the unit. They usually come with a special Allen wrench (often called a jam-buster wrench) that fits it. You can insert the wrench and manually crank the blades back and forth to break loose whatever is stuck.
I also get a lot of questions about using bleach. It seems like an easy way to kill germs and odors, right? I’d advise against it. Bleach is pretty harsh and can damage the rubber seals and gaskets inside your disposal over time. The natural methods we’ve already covered are just as effective for odors without risking damage to your unit or pipes.
The best strategy for a long, healthy life for your garbage disposal is consistent, gentle maintenance. If you get into a simple weekly cleaning habit, you’ll rarely need to resort to harsh chemicals or aggressive tactics. It’s all about being proactive.
This isn’t just my opinion. Market surveys show that about 60% of households in North America clean their disposals from time to time. And the proof is in the results: using simple methods like vinegar and baking soda has been shown to reduce foul odors by an impressive 89% compared to disposals that are never cleaned. You can dig into more of the numbers with this in-depth market data. It really shows how a little effort makes a huge difference.
Are you dealing with a stubborn clog or a disposal that just won’t cooperate? Don’t let a small plumbing issue turn into a major headache. The experienced team at Professional Plumber Denver is ready to help with any plumbing or drain cleaning needs in the Denver Metro area. Visit us at https://professional-plumbers-denver.com to schedule a service today.
