
When you flip the switch for your garbage disposal and get… nothing, it’s easy to assume the worst. That dreaded silence, or maybe a low, angry hum, can feel like the start of an expensive plumbing bill. But I’ve seen this countless times, and the fix is often surprisingly simple.
Before you even think about calling a pro, let’s walk through the most common culprits. More often than not, you can get it running again yourself in just a few minutes.
First Checks for a Non-Working Garbage Disposal

That moment of silence when you expect the familiar grinding sound is a universal kitchen frustration. But don’t start pricing new units just yet. Most disposal problems are straightforward, and your first line of defense is to rule out the easy stuff.
Start With The Basics
First things first: power. It sounds almost too obvious to mention, but you’d be amazed how often a “broken” disposal is just a unit that’s come unplugged or a tripped circuit. Before you do anything else, peek under the sink and make sure the cord is firmly seated in the outlet.
With the power confirmed, your next stop is the small reset button on the very bottom of the disposal unit itself. It’s usually red or black.
- What it does: This is basically a mini circuit breaker for the disposal. It trips when the motor gets too hot, which often happens when it’s struggling with a jam.
- What to do: Press this button in firmly. If it clicks and stays put, you might have just solved the problem. If it pops back out, the motor is likely still too hot. Just give it about 10 minutes to cool off and try again.
What Are You Hearing (or Not Hearing)?
The sounds your disposal makes are your best diagnostic clues. If you flip the switch and hear absolute silence—no hum, no buzz, nothing—it’s almost certainly a power issue.
On the other hand, if you hear a low humming or buzzing sound, that’s actually good news.
Key Insight: A humming motor means the disposal is getting power and is trying to work. Something is just physically stopping the blades from spinning. You’re dealing with a jam, not a dead motor.
This is a classic scenario, especially after tackling certain foods. Think starchy potato peels turning into a thick paste, or fibrous materials like celery or corn husks wrapping themselves around the blades. These create a stubborn blockage that the motor just can’t overcome, resulting in that tell-tale hum.
While a disposal clog can sometimes cause water to back up, be aware of your other drains. If you notice slow draining in multiple fixtures, you might be looking at a bigger issue. In that case, it’s worth knowing the signs of a clogged main drain.
How to Safely Troubleshoot Electrical Issues
So you flip the switch, and… nothing. No hum, no grind, just silence. When a garbage disposal is completely dead, the culprit is almost always electrical. The good news is that you don’t need to be an electrician to solve the most common power problems. A few simple checks can often get it running again in minutes.
But first, the golden rule: always turn off the power at the source before you do anything more than look. Safety is non-negotiable when dealing with electricity.
Check the Circuit Breaker First
Your first stop should be the main electrical panel. You’ll usually find this metal box in the garage, basement, or a utility closet. Inside, a row of switches—the circuit breakers—controls the power to different areas of your home. For a deeper dive into how these systems are set up, understanding the basics of mastering residential electrical panel wiring is a great starting point for any homeowner.
Scan the labels for one marked “Garbage Disposal” or perhaps “Kitchen.” If the labels are vague, it might be tied into a general “Kitchen Outlets” circuit. Found it? Flip the breaker all the way to the “OFF” position before proceeding.
Pro Tip: If your breakers aren’t labeled, now’s the perfect time to fix that. Ask someone to watch the kitchen appliances while you flip breakers one by one. When the right one goes off, have them yell, and then you can label it with a permanent marker. Future you will be very grateful.
Investigate the Outlet and Switch
Once the breaker is off, you can safely check the other components in the circuit.
A surprisingly common point of failure is the Ground Fault Circuit Interrupter (GFCI) outlet. This is a special type of outlet, required in areas with water like kitchens and bathrooms, that instantly shuts off power if it senses a short circuit or moisture. It’s a lifesaver, but it can also be a headache.
- Locate the GFCI: Your disposal is likely plugged into an outlet under the sink. A GFCI outlet is easy to spot—it has two little buttons, “TEST” and “RESET,” between the sockets.
- Push the “RESET” Button: Firmly press the “RESET” button until you hear or feel it click. If the button pops right back out and won’t stay depressed, there might be a more serious issue that needs a professional.
- Restore Power: Head back to the electrical panel and flip the breaker back to the “ON” position. Now, try the disposal switch.
This simple reset fixes a huge number of “dead” disposal calls. If you’ve reset both the breaker and the GFCI outlet and still get nothing, the problem could be a faulty wall switch or an issue inside the disposal itself. At that point, it’s usually time to bring in a pro.
How to Manually Clear a Jammed Garbage Disposal
You flip the switch, and instead of the familiar whir, you get an angry, menacing hum. That sound is a dead giveaway: you’ve got a jam.
It’s a classic garbage disposal problem. The good news is that the motor is still getting power; something is just physically blocking the blades from doing their job. While it sounds serious, this is often a problem you can tackle yourself in a few minutes, as long as you put safety first.
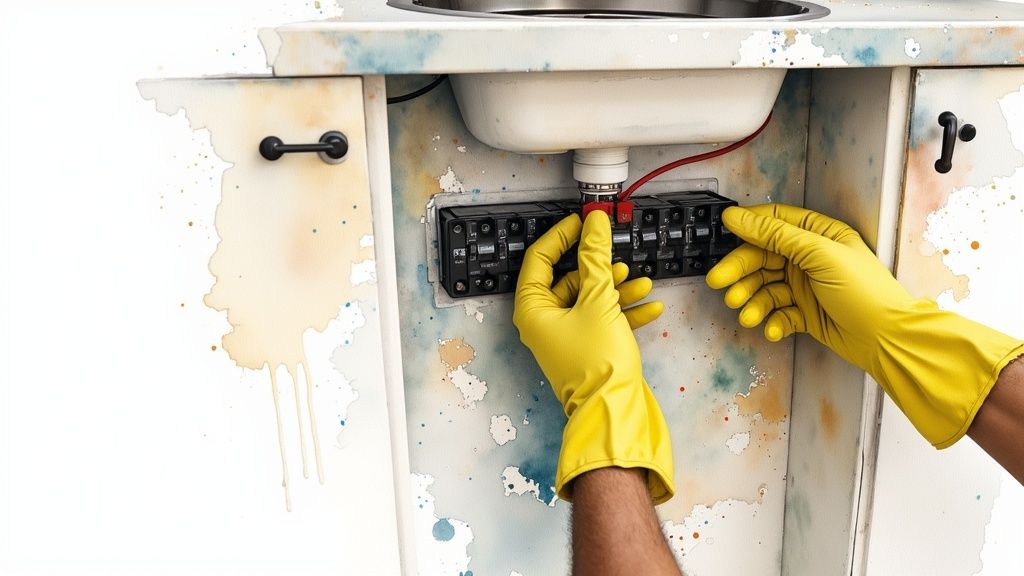
Before you even think about reaching for a tool, you have to kill the power. I mean all of it. Flip the wall switch off, then unplug the unit from the outlet under the sink. For an extra layer of safety—and I always recommend this—go to your circuit breaker box and switch off the breaker for the disposal. You can never be too careful.
The image below runs through these essential power checks. Always start here before you assume you have a bigger issue on your hands.

With the power completely disconnected, you’re ready to get to work.
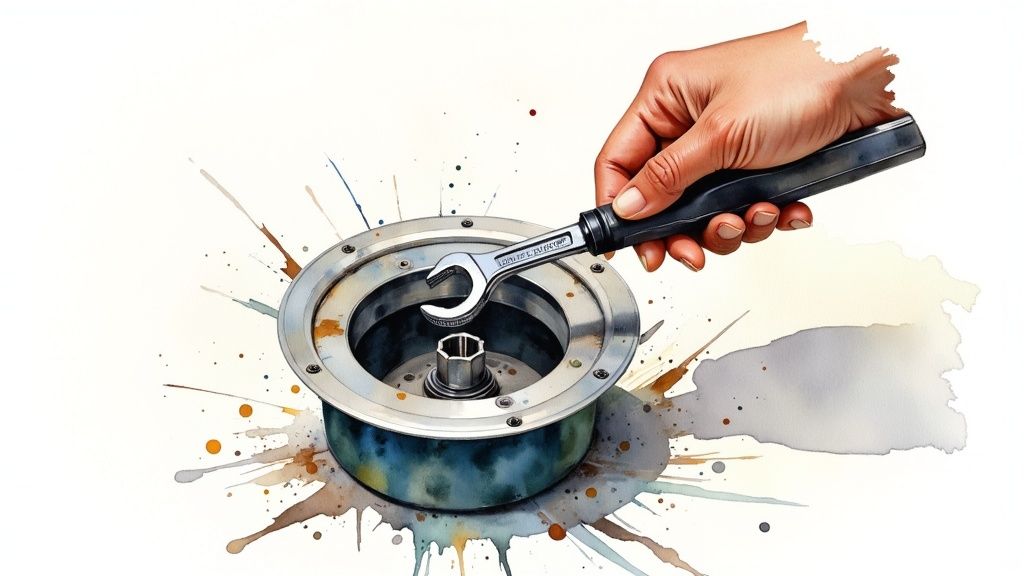
Grab Your Jam-Buster Wrench
Your garbage disposal likely came with a small, specialized Allen wrench often called a “jam-buster” tool. If you’ve misplaced it over the years (which happens to the best of us), a standard 1/4-inch Allen wrench will almost always do the trick.
Get on the floor and look at the very bottom of the disposal unit. You’re searching for a small hexagonal hole, usually dead center.
- Fit the end of the wrench snugly into that socket.
- Now, start working it back and forth. You’re not trying to spin it in a full circle, but rather rocking it with firm, steady pressure.
- This motion manually turns the motor and the grinding plate, forcing the blades to move against the obstruction. After a few good wiggles, you should feel the mechanism loosen up as the jam breaks free.
Go Fishing (The Safe Way)
Once the blades seem to be moving again, it’s time for a visual inspection from the top. And I can’t stress this enough: keep your hands out of there.
Grab a flashlight and a pair of pliers or kitchen tongs. Shine the light down into the drain and see what you can find. The culprit is often something that shouldn’t have been in there in the first place—a dropped spoon, a peach pit, or a tough chicken bone. Use your tongs to carefully fish it out.
The most common jams are caused by tossing the wrong things down the drain. From fibrous celery stalks to hard bones, some items are just notorious for jamming disposals. It’s a huge issue, considering that food waste makes up a staggering 30-40% of the food supply in the United States. You can find more insights about food waste on RTS.com.
With the obstruction removed, you can restore the power. Plug the unit back in and flip the breaker on. Turn on a strong flow of cold water, then hit the disposal switch. If you’ve cleared the jam, you’ll hear that satisfying, smooth whir. If it still just hums, turn everything off and repeat the process—sometimes a jam needs a little more convincing.
Finding and Fixing Garbage Disposal Leaks
There’s nothing quite like opening the cabinet under your sink to find a surprise puddle. It’s a messy sight, but don’t panic just yet. A leaky garbage disposal is usually a problem you can track down and solve yourself with just a few basic tools. The trick is to figure out exactly where that drip is coming from.
First things first, you need a dry workspace. Grab some paper towels and wipe down the entire disposal unit—the body, the hoses, every connection point. This is a non-negotiable step; a fresh drip is nearly impossible to spot on an already-wet surface.
With everything dry, here’s a pro tip: plug your sink, fill it with a few inches of water, and add several drops of food coloring. The color makes even the smallest leak pop against the dark housing of the disposal. Now, pull the plug and keep a close eye on the unit to see where the colorful water trail begins.
Leaking from the Top Flange
If you spot water dripping from the very top of the disposal, where it meets the sink basin, your problem is almost certainly the sink flange. That’s the metal ring inside the sink that the whole unit hangs from. The constant vibrations from the motor can loosen the mounting bolts over time, or the plumber’s putty that creates the seal can simply get old and fail.
To fix it, you’ll need to get underneath and tighten the three mounting bolts that clamp the disposal to the sink. Turn each one clockwise with a screwdriver, but do it a little at a time—about a quarter-turn on each bolt in rotation—to apply even pressure. If a good tightening doesn’t stop the leak, the next step is to detach the disposal, scrape off all the old putty, and apply a fresh ring before putting it all back together.
Drips from the Side Hoses
Another frequent culprit is the connection where your dishwasher hose joins the disposal. This is typically held on with a simple metal clamp.
- Check the Clamp: More often than not, the clamp has just worked itself loose. If it’s a worm-gear style (the kind you tighten with a screwdriver), a quick turn is often all it needs.
- Inspect the Hose: If the clamp is snug but the leak persists, take a close look at the hose itself. The rubber can develop small cracks or splits right at the connection point. If you find any damage, the hose will have to be replaced.
Important Takeaway: A leak coming from the very bottom of the garbage disposal unit itself points to a failed internal seal. I hate to be the bearer of bad news, but this isn’t something you can repair. The housing itself is compromised, and the only real solution is to replace the entire disposal.
Keeping Your Garbage Disposal Running Smoothly
The old saying “an ounce of prevention is worth a pound of cure” couldn’t be more true for your garbage disposal. The best way to fix a broken disposal is to stop it from breaking in the first place. A little proactive care is far easier than a weekend repair job and can add years to your appliance’s life.
https://www.youtube.com/embed/qmRzTJGSUgQ
You’ve probably heard the old wives’ tale about using ice cubes to sharpen the “blades.” Truth is, disposals don’t have blades; they use blunt impellers to pulverize food. But the ice trick isn’t totally useless! Grinding a tray of ice cubes is a great way to scour the inside of the grinding chamber, knocking off stubborn, greasy gunk.
What Never to Put Down Your Drain
Knowing what to keep out of your disposal is half the battle. Some items are practically guaranteed to cause a jam or create a nasty clog down the line, putting a ton of stress on the motor.
Here are the biggest culprits I see causing problems for homeowners:
- Fibrous Veggies: Think celery stalks, corn husks, onion skins, and artichokes. Their stringy fibers act like rope, wrapping around the impellers and bringing the whole unit to a screeching halt.
- Grease, Oil, and Fats: These might be liquid when they’re hot, but they solidify into a thick, waxy mess once they hit the cold pipes. This is a recipe for a blockage that your disposal can’t touch.
- Starchy, Expandable Foods: Pasta, rice, and even potato peels swell up with water. They can quickly turn into a dense, paste-like clog that blocks up the drain line.
- Coffee Grounds: They seem so small and innocent, but coffee grounds clump together in your pipes over time, forming a sludgy, sediment-like blockage that’s tough to clear.
This is more than just about avoiding a plumbing headache. Proper disposal use is a small part of responsible waste management. In high-waste countries like the United States, the average person generates over 800 kilograms of waste each year—that’s almost three times the global average. You can see more global waste statistics on developmentaid.org to get the bigger picture.
Your Simple Monthly Cleaning Routine
A quick cleaning once a month can make a huge difference, preventing nasty odors and the kind of buildup that eventually leads to clogs and jams.
Pro Tip: For a super easy refresh, I always tell people to just grind up a few citrus peels. Lemon, lime, or orange rinds work great. Run some cold water and toss them in. The natural citrus oils help clean the chamber and leave your whole kitchen smelling fresh.
If you’re dealing with some serious funk, you can learn how to clean your garbage disposal effectively with common household items. Making this a regular habit is probably the single best thing you can do to keep your disposal out of trouble.
Common Garbage Disposal Questions Answered
Even after you’ve run through the basic troubleshooting steps, you might still have some nagging questions. When your garbage disposal is on the fritz, some issues are more common than others. Here are some quick answers to the problems I hear about most often.
Why Does My Garbage Disposal Smell So Bad?
That foul odor is almost always caused by tiny, rotting food particles that have managed to cling to the inside walls of the grinding chamber. It’s a common problem, but thankfully, the fix is pretty simple.
Toss a handful of citrus peels—lemon and lime work especially well—down the drain and run the disposal with a strong flow of cold water. The abrasive peels and citric acid scrub the chamber and leave a much fresher scent behind.
For a deeper, more heavy-duty clean, try pouring half a cup of baking soda into the disposal. Let it sit for about 30 minutes to absorb those stubborn odors. Then, chase it with a cup of white vinegar. You’ll get a satisfying fizzing reaction that helps dissolve built-up grease and grime. Just finish it off by flushing everything with hot water.
What If The Reset Button Won’t Stay In?
This is a classic. You press that little red button on the bottom of the disposal, and it just pops right back out. This is your disposal’s safety feature screaming for attention—it’s telling you the motor is still overheating or there’s a more serious internal electrical issue.
Before you do anything else, kill the power at the breaker. Now, do one final, careful check for a hidden jam you might have missed earlier. Sometimes it’s something small wedged in just the right spot. If you don’t find anything, let the unit cool down completely for at least 15-20 minutes before you even think about trying the button again.
If it still won’t stay pressed, you’re likely looking at a failing motor or a wiring problem. At this point, the unit itself is probably toast.
Key Takeaway: A reset button that refuses to stay in is doing its job by protecting the motor. Forcing it or repeatedly pressing it is a waste of time and won’t fix the root cause.
Can I Use Chemical Drain Cleaners?
I’m going to give you a hard no on this one. Please, avoid pouring harsh chemical drain cleaners into your garbage disposal.
These caustic chemicals are incredibly destructive to the plastic and metal components inside the unit. They can eat away at the seals and gaskets, leading to leaks and causing the disposal to fail much sooner than it should. Stick to manual methods for clearing clogs. A simple drain snake is a much safer and more effective tool for blockages further down the line.
When Should I Replace My Garbage Disposal?
Knowing when to throw in the towel on repairs and just get a new unit can save you a lot of headaches and money. It’s probably time to start shopping for a replacement if you’re dealing with any of these situations:
- Persistent Leaks: This is a big one. If you see water dripping from the actual bottom of the disposal body, it means an internal seal has failed. That’s usually not a repairable problem.
- Constant Resetting: If you find yourself hitting the reset button all the time, the motor is getting old and tired. It’s working too hard and is on its last legs.
- Recurring Jams: A disposal that jams constantly, even when you’re careful about what you put down there, probably has dull, worn-out grinding components.
- Old Age: Let’s be realistic—most disposals have a lifespan of about 8-10 years. If yours is older than that and starting to act up, replacement is almost always the more sensible financial decision. You can get an idea of what to budget by learning about the average cost of garbage disposal installation.
Sometimes, persistent problems aren’t your fault. In areas with less advanced municipal waste processing, disposals can take a beating from materials that shouldn’t be in the system. The quality of local waste infrastructure can really impact appliance longevity. You can read more about how waste management differs across the globe in the Global Waste Index on sensoneo.com.
If you’ve tried everything and you’re still stuck, it might be time to call in the experts. Some jobs are best left to professional garbage disposal repair services.
When DIY solutions aren’t enough, you need a team you can trust. Professional Plumber Denver has the expertise to diagnose and resolve any plumbing issue, big or small. https://professional-plumbers-denver.com

Recent Comments