
In the Denver Metro area, our unique climate-from freezing winters to dry, shifting soils-puts unique stress on your home’s plumbing. Ignoring routine checks is an invitation for burst pipes, surprise leaks, and costly emergency calls. This comprehensive plumbing maintenance checklist is designed specifically for Denver homeowners and property managers to address these local challenges head-on. It’s not just a list; it’s a strategic plan to protect your investment, save money on utilities, and ensure your plumbing system runs efficiently year-round.
Think of this guide as your proactive roadmap to total plumbing peace of mind. We’ll break down essential tasks into manageable monthly, quarterly, and annual schedules, giving you the actionable steps needed to prevent disasters before they happen. Following a structured plumbing maintenance checklist helps you catch small issues like a slow drain or a minor faucet drip before they escalate into significant, expensive repairs. It empowers you to maintain your home’s most critical systems with confidence.
To help you organize your tasks, you can adapt this guide into a personalized schedule. For those interested in creating custom maintenance routines or other organizational tools, you might find a variety of helpful resources, including various free Google Docs checklist templates. This article will detail everything you need to inspect, from faucets and water heaters to drains and sump pumps, providing clear, step-by-step instructions for each critical component of your home’s plumbing network. Let’s get started.
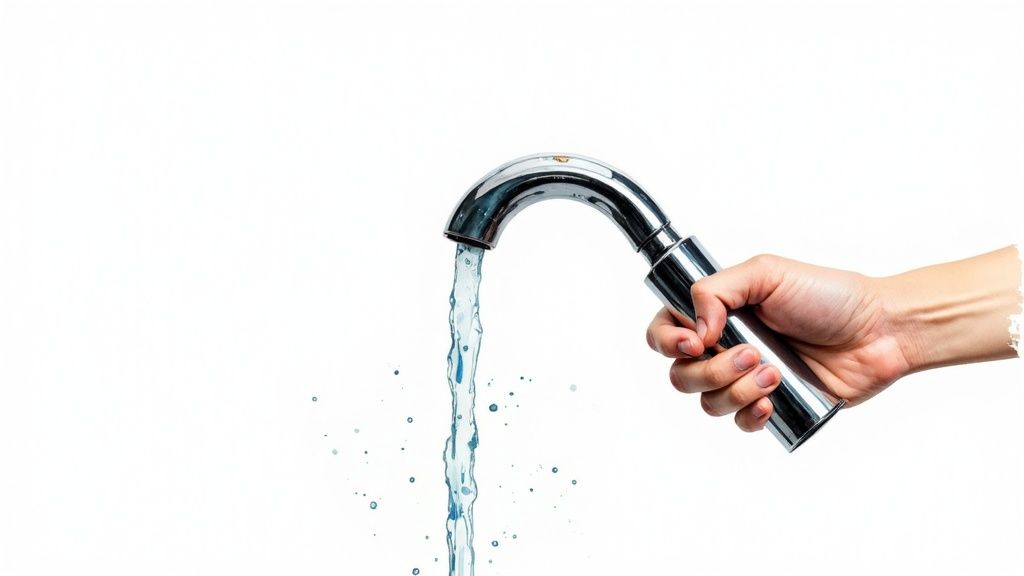
1. Inspect and Clean Faucets and Fixtures
Regularly inspecting and cleaning your faucets, showerheads, and other plumbing fixtures is a foundational task in any effective plumbing maintenance checklist. This simple, proactive step prevents the mineral buildup common in the Denver Metro area’s hard water, helps you spot hidden leaks early, and ensures consistent water pressure and flow throughout your property. Overlooking these fixtures can lead to restricted flow, premature component failure, and even water damage.
Why This Task is Essential
In areas with hard water, calcium and magnesium deposits quickly accumulate inside faucet aerators and showerhead nozzles. This buildup, known as scale, can clog the small openings, leading to weak or erratic water streams and increased pressure within the fixture itself. Furthermore, a dripping faucet is more than an annoyance; it’s a sign of a failing gasket or O-ring that wastes thousands of gallons of water per year if ignored. Regular checks allow you to address these minor issues before they escalate into costly repairs or replacements.
How to Implement This Check
Follow this systematic approach for each faucet and fixture in your home, ideally on a monthly basis.
- Visual and Manual Inspection: Check for visible drips from the spout and leaks around the base of the faucet. Gently wiggle the faucet handle and base to check for any looseness, which could indicate a failing seal or loose mounting nut.
- Aerator Cleaning: The aerator is the small, screened cap at the tip of your faucet. Unscrew it by hand (or with a cloth-wrapped pair of pliers to prevent scratching). Disassemble the small parts, rinse them, and soak them in a bowl of white vinegar for 30-60 minutes to dissolve mineral deposits. Use a small brush to scrub away any remaining debris before reassembling.
- Showerhead Descaling: If your showerhead is clogged, you can often clean it without removing it. Fill a plastic bag with white vinegar and secure it over the showerhead with a rubber band, ensuring the nozzles are fully submerged. Let it soak for several hours or overnight, then remove the bag and run the hot water to flush out the loosened sediment.
For a visual guide on cleaning a clogged faucet aerator, this video provides a clear, step-by-step tutorial.
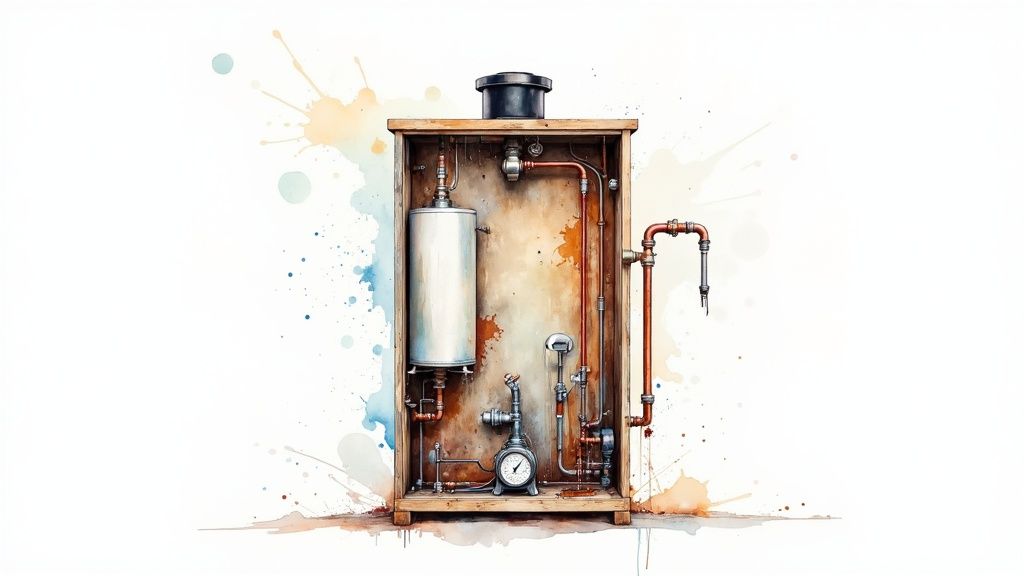
2. Check and Maintain Water Heater
Your water heater is one of the hardest working appliances in your home, yet it often goes unnoticed until there’s no hot water. Including water heater maintenance in your plumbing maintenance checklist is critical for ensuring efficiency, extending its lifespan, and preventing catastrophic failures. Proactive care helps manage the effects of Denver’s hard water, maintains safe operating temperatures, and can significantly reduce your energy bills.
Why This Task is Essential
Sediment, primarily composed of calcium and magnesium from hard water, settles at the bottom of the tank. This layer forces the heating element to work harder to heat the water, leading to higher energy consumption, internal corrosion, and a shorter unit lifespan. A popping or rumbling sound from the tank is a clear indicator of this sediment buildup. Additionally, the temperature and pressure (T&P) relief valve, a crucial safety feature, can seize up over time, creating a risk of a dangerous pressure buildup.
How to Implement This Check
These checks should be performed annually to keep your water heater in optimal condition. While some tasks are straightforward, flushing the tank can be complex, and professional help is recommended if you are not comfortable.
- Temperature and Pressure (T&P) Valve Test: Locate the T&P valve on the side or top of your tank. Place a bucket under the discharge pipe and briefly lift the lever. A small burst of hot water should come out. If it only dribbles or doesn’t release water at all, the valve needs to be replaced immediately by a professional.
- Annual Sediment Flush: This process involves draining the tank to remove the mineral sediment that has accumulated. It improves heating efficiency and prevents corrosion. This is a key part of any comprehensive hot water heater maintenance routine and is best performed by a qualified plumber.
- Anode Rod Inspection: The anode rod is a “sacrificial” component that corrodes to protect the tank’s inner lining from rust. It should be inspected every 2-3 years and replaced if it is heavily corroded or less than half an inch thick.
- Set Temperature for Safety and Efficiency: Check that your water heater is set to 120°F. This temperature is hot enough for household needs while reducing the risk of scalding and saving energy, a recommendation echoed by manufacturers like Rheem and AO Smith.
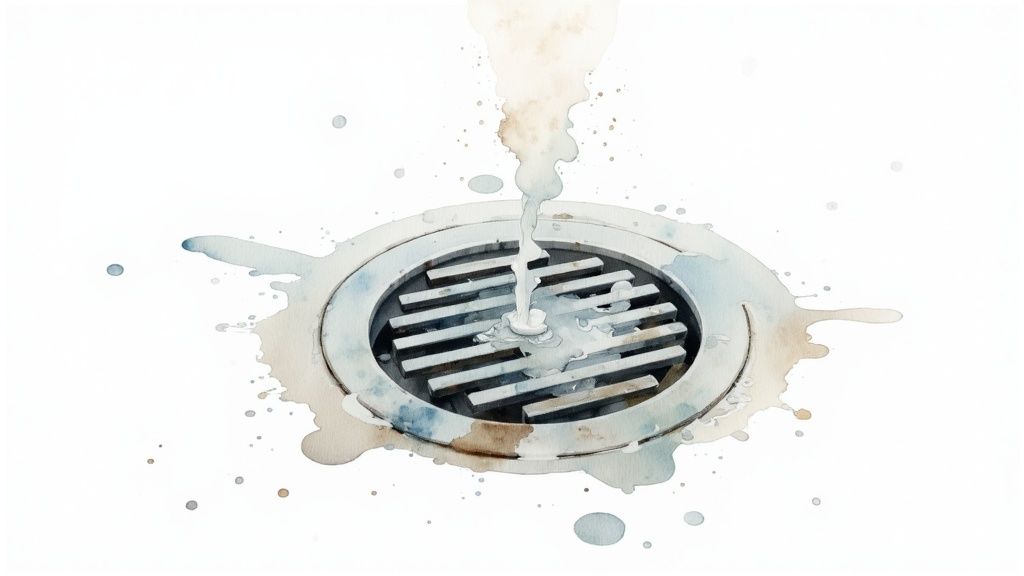
3. Inspect and Clean Drains
Systematically inspecting and cleaning your property’s drains is a critical component of any comprehensive plumbing maintenance checklist. This preventative task involves more than just dealing with a clog after it forms; it’s about maintaining clear pathways in sinks, tubs, showers, and floor drains to prevent blockages, eliminate unpleasant odors, and ensure wastewater flows away efficiently. Neglecting your drains allows grease, soap scum, hair, and other debris to build up, leading to slow drains, backups, and potentially costly plumbing emergencies.
Why This Task is Essential
In a typical household, drains are subjected to a daily barrage of clog-forming materials. Kitchen sinks accumulate food particles and grease, while bathroom drains collect hair and soap residue. Over time, this buildup hardens inside the pipes, restricting flow and creating foul-smelling bacteria. Regular cleaning not only keeps water moving freely but also reduces the strain on your entire drainage system. Addressing minor slowness proactively helps you avoid the need for harsh chemical cleaners, which can damage pipes, or emergency calls for professional drain clearing.
How to Implement This Check
Incorporate these drain maintenance habits into your routine to prevent the vast majority of common clogs and backups.
- Weekly Maintenance: Pour a kettle of boiling water down kitchen and bathroom sink drains to help dissolve grease and soap buildup. In showers and tubs, manually remove any visible hair from the drain stopper or cover after each use. Installing a simple drain screen or hair catcher is an excellent preventative measure.
- Monthly Treatment: For a deeper clean, use a natural enzyme-based drain cleaner. These products use beneficial bacteria to break down organic waste without harming your pipes. This is especially effective in kitchen sinks where grease is a constant issue.
- Mechanical Cleaning: Instead of reaching for harsh chemicals, use a drain snake or a zip-it tool to physically remove hair and gunk from bathroom drains every few months. This mechanical approach is safer for your plumbing system and often more effective.
For situations where a stubborn clog has already formed, you can find detailed, step-by-step instructions on our blog. For a complete guide on what to do when faced with a blockage, explore our resource on how to unclog a drain pipe.
4. Test and Maintain Toilet Components
A malfunctioning toilet is a common source of significant water waste and potential water damage, making regular checks of its internal components a critical part of any plumbing maintenance checklist. The internal mechanisms, such as the flapper, fill valve, and flush chain, are subject to constant wear and can degrade silently over time. Proactively inspecting and maintaining these parts prevents phantom flushes, silent leaks, and catastrophic failures that lead to high water bills and expensive repairs.
Why This Task is Essential
A running toilet can waste over 200 gallons of water per day, drastically increasing your utility costs. This is often caused by a faulty flapper valve that no longer creates a perfect seal, allowing water to leak slowly from the tank into the bowl. Similarly, a miscalibrated fill valve can cause the tank to overfill, sending water straight down the overflow tube. In the Denver Metro area, hard water can accelerate the deterioration of rubber seals and plastic components, making these inspections even more vital for local homeowners.
How to Implement This Check
Perform these checks on a quarterly basis, or monthly for high-use toilets, to catch problems early.
- The Food Coloring Test: This is the easiest way to check for a silent flapper leak. Place a few drops of food coloring into the toilet tank and wait for 15-20 minutes without flushing. If you see any colored water appearing in the toilet bowl, your flapper is leaking and needs to be replaced.
- Inspect Internal Components: Lift the tank lid and observe a full flush cycle. The fill valve should stop running once the water reaches the manufacturer’s designated water line (usually marked inside the tank). Check the flapper chain for proper tension; it should have minimal slack but not be so tight that it prevents the flapper from sealing completely.
- Preventive Replacement: Toilet flappers are inexpensive and typically have a lifespan of 2-3 years. Consider replacing them as part of your regular maintenance routine to prevent inevitable failure. Keeping spare parts, as recommended by manufacturers like Fluidmaster and Kohler, allows for immediate repairs.
This brief video from This Old House demonstrates how to diagnose and fix the most common toilet problems, including a faulty flapper.
5. Inspect Pipes and Connections for Leaks
A diligent inspection of all visible plumbing pipes and their connections is a critical component of any comprehensive plumbing maintenance checklist. This preventative measure involves systematically examining pipes in your basement, crawl spaces, and under sinks to catch early signs of leaks, corrosion, or physical damage. Proactively identifying these issues helps prevent catastrophic failures, water damage, and the expensive emergency repairs that often follow.
Why This Task is Essential
Even a minor drip from a loose fitting or a pinhole leak in a corroded pipe can release a significant amount of water over time, leading to mold growth, rotted structural wood, and compromised foundations. In the Denver Metro area, the cycle of freezing and thawing during winter months puts immense stress on pipes, making them more susceptible to cracks and joint failures. Regular inspections allow you to spot these vulnerabilities before they escalate, saving you from a flooded basement and a major homeowner’s insurance claim.
How to Implement This Check
Dedicate time each quarter to perform a thorough visual and tactile inspection of your plumbing system.
- Systematic Walk-Through: Grab a powerful flashlight and methodically trace all visible water supply and drain lines. Start in the basement or crawl space and work your way up, checking under every sink and behind toilets. Pay close attention to joints, valves, and connections where leaks most commonly occur.
- Look for Telltale Signs: Be on the lookout for obvious drips, but also search for more subtle clues. These include water stains on walls or ceilings, greenish or white mineral deposits (corrosion) on copper or galvanized pipes, and patches of rust. Also, check that pipe hangers and supports are secure, as sagging pipes are under constant stress.
- Feel for Moisture: For pipes in tight or dark spaces, run a dry hand or paper towel along the underside of the pipe and around fittings. This can help you detect slow, weeping leaks that might not be visible to the naked eye.
- Document and Monitor: If you find a potential issue, take a clear photo with your phone. This creates a record you can use to monitor the situation or show a professional plumber exactly what you’ve found.
This detailed video offers excellent tips on what to look for when inspecting your home’s pipes for potential leaks.
6. Clean and Maintain Garbage Disposal
A fully functional garbage disposal is a cornerstone of modern kitchen convenience, but it requires routine care to prevent clogs, foul odors, and mechanical failure. Incorporating disposal maintenance into your plumbing maintenance checklist ensures it remains efficient and extends its lifespan. Neglecting this powerful appliance can lead to jammed blades, motor burnout, and stubborn drain blockages that require professional intervention.
Why This Task is Essential
Food waste, grease, and other debris can accumulate on the disposal’s grinding components and within the drain pipe. This buildup not only causes unpleasant smells but also puts excessive strain on the motor and can lead to corrosion. In the Denver Metro area, where mineral content in water can exacerbate buildup issues, regular cleaning is critical. A well-maintained unit operates more effectively, grinds food waste faster, and is less likely to become a source of plumbing emergencies.
How to Implement This Check
Follow this simple maintenance schedule to keep your garbage disposal in top working order.
- Daily/Post-Use Care: Always run a strong stream of cold water for at least 20-30 seconds after grinding is complete. This flushes any remaining food particles down the main drain line, preventing them from settling and creating a clog.
- Weekly Cleaning and Sharpening: Grind a handful of ice cubes to help clean the blades and interior chamber of accumulated sludge. For a deeper clean, you can add coarse salt or citrus peels (like lemon or orange) along with the ice. The citrus peels act as a natural deodorizer.
- Monthly Deodorizing and Deep Clean: Pour half a cup of baking soda down the disposal, followed by one cup of white vinegar. Let the mixture fizz and work for 10-15 minutes to break down grease and kill odor-causing bacteria. Finish by flushing thoroughly with cold water while running the disposal.
- Important Usage Tip: Never pour grease, oil, or fat down your disposal. Also, avoid grinding highly fibrous materials like celery stalks or corn husks, large bones, or non-food items. Be aware of where the unit’s reset button is (usually on the bottom of the unit under the sink) in case of a jam or overload.
7. Test Water Pressure and Flow Rate
Systematically testing your property’s water pressure and flow rate is a critical diagnostic step in any comprehensive plumbing maintenance checklist. This task involves measuring the force (pressure) and volume (flow) of water moving through your pipes, allowing you to identify hidden problems like clogs, leaks, or failing components. For homeowners in the Denver Metro area, where municipal supply pressure can fluctuate, this check ensures your plumbing system operates within a safe and efficient range, protecting appliances and fixtures from damage.
Why This Task is Essential
Water pressure that is too high (above 80 PSI) can wreak havoc on your entire plumbing system. It puts excessive stress on pipe joints, gaskets, and supply lines, leading to leaks and catastrophic bursts. It also accelerates the wear and tear on your water heater, washing machine, and dishwasher, often voiding their warranties. Conversely, low pressure can indicate significant issues like a hidden leak, a malfunctioning pressure regulator, or severe mineral buildup restricting water flow. Regularly monitoring these metrics allows for early intervention before minor issues cause major damage.
How to Implement This Check
Follow this process quarterly or any time you notice a significant change in water performance.
- Pressure Testing: Purchase an inexpensive water pressure test gauge from a hardware store. Attach it to an outdoor hose spigot or your washing machine’s cold water bib. Ensure all other faucets and water-using appliances are off, then turn the spigot on fully. The gauge will give you an instant pressure reading in pounds per square inch (PSI). The ideal range for residential properties is between 40 and 80 PSI.
- Flow Rate Check: To measure the flow rate of a specific fixture, you’ll need a bucket (ideally with gallon markings) and a stopwatch. Place the bucket under a faucet, turn the tap on full blast, and time how long it takes to fill to the one-gallon mark. Divide 60 by the number of seconds it took; the result is your flow rate in gallons per minute (GPM).
- Document and Compare: Keep a log of your pressure and flow rate readings. Documenting these numbers allows you to track your system’s performance over time and quickly spot a downward trend that signals a developing problem.
For a demonstration of how to use a water pressure gauge, this video provides clear and simple instructions.
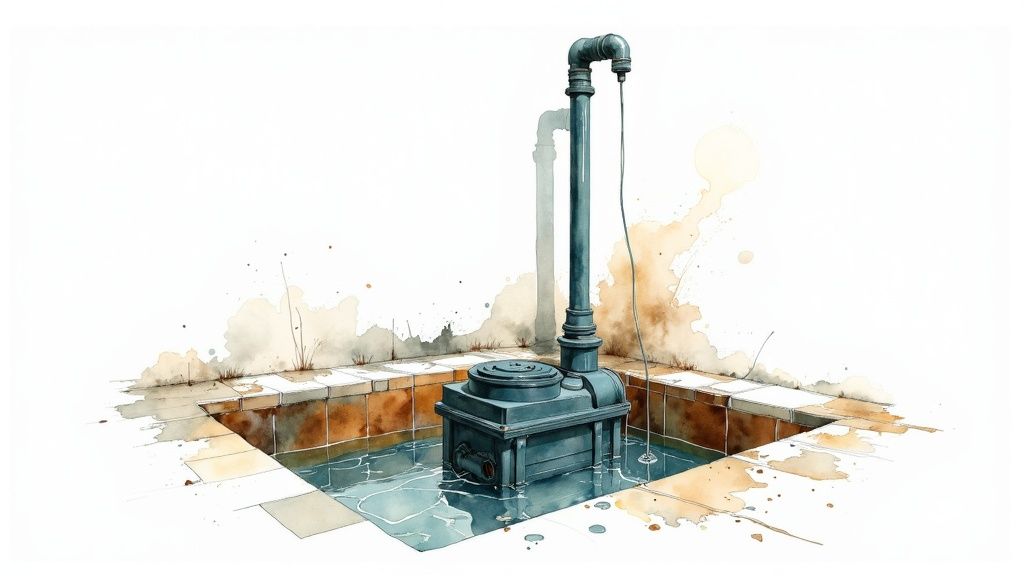
8. Inspect and Service Sump Pump
For many Denver Metro area properties, the sump pump is the single most important defense against basement flooding and costly water damage, especially during spring thaws and heavy summer storms. A functional sump pump actively removes groundwater that accumulates around a home’s foundation, discharging it safely away from the property. Regularly inspecting and servicing this system is a critical task in any comprehensive plumbing maintenance checklist, as a failure can lead to catastrophic and expensive consequences with very little warning.
Why This Task is Essential
Unlike many other plumbing components, a sump pump often sits idle for long periods, only activating when needed. This inactivity can lead to seized motors, stuck float switches, or clogged discharge lines. If a powerful storm hits, you might only discover your pump has failed when water is already seeping into your basement. Proactive maintenance ensures the pump, its float switch, and its backup power source are ready to perform their vital function at a moment’s notice, protecting your foundation, stored belongings, and finished basement areas.
How to Implement This Check
Follow this systematic approach, especially before the wet seasons (spring and late summer) and after any major storm event.
- Sump Pit Inspection: Unplug the pump and look inside the sump pit or basin. Remove any dirt, rocks, or other debris that could clog the pump’s intake screen or interfere with the float switch mechanism. The pit should be clean and clear.
- Operational Test: Pour a few buckets of water into the sump pit to raise the water level. This should trigger the float switch and activate the pump. Watch to confirm that the pump turns on, effectively removes the water, and then shuts off properly once the water level drops.
- Discharge Line Verification: While the pump is running, go outside to check the end of the discharge line. Ensure water is flowing freely and that the outlet is clear of any obstructions like leaves, dirt, or ice. The line should be angled to direct water away from your foundation.
- Backup System Check: If you have a battery backup system, test it by unplugging the main pump and performing the water-pour test again. This confirms the backup pump and battery are in good working order. For generators, ensure they are connected and ready.
If you notice your sump pump running constantly, making strange noises, or failing to activate, it requires immediate attention. For detailed guidance on identifying and fixing common issues, you can learn more about sump pump troubleshooting on our blog.
Plumbing Maintenance Checklist Comparison
| Maintenance Task | Implementation Complexity 🔄 | Resource Requirements ⚡ | Expected Outcomes 📊 | Ideal Use Cases 💡 | Key Advantages ⭐ |
|---|---|---|---|---|---|
| Inspect and Clean Faucets and Fixtures | Low to Medium | Basic tools, occasional specialty tools | Prevent leaks, maintain water flow, extend fixture life | Residential, commercial, hard water areas | Prevents costly repairs, improves water quality |
| Check and Maintain Water Heater | Medium to High | Technical skills, possible professional service | Extends heater life, improves efficiency, safety ensured | Residential, commercial, rental properties | Prevents failures, saves energy, ensures hot water supply |
| Inspect and Clean Drains | Low to Medium | Basic cleaning tools, mechanical tools | Prevent clogs, eliminate odors, maintain drainage flow | All buildings, kitchens, bathrooms | Reduces emergency calls, prevents damage |
| Test and Maintain Toilet Components | Low to Medium | Basic plumbing parts and tools | Prevent water waste, maintain flush performance | Residential, commercial restrooms | Saves water, avoids emergency repairs |
| Inspect Pipes and Connections for Leaks | Medium | Flashlight, pressure testing tools | Prevent water damage, detect leaks early | Whole property, especially crawl spaces | Reduces water waste, avoids costly damage |
| Clean and Maintain Garbage Disposal | Low to Medium | Cleaning agents, basic tools | Prevent odors, maintain efficient waste processing | Residential and commercial kitchens | Extends unit life, reduces clogs |
| Test Water Pressure and Flow Rate | Medium | Pressure gauges, flow meters | Ensure adequate pressure, detect restrictions | Large properties, buildings, commercial sites | Optimizes system, detects hidden leaks |
| Inspect and Service Sump Pump | Medium to High | Electrical knowledge, backup systems | Prevent flooding, ensure reliable operation | Basements, flood-prone areas | Protects property, extends pump life |
Partner with Professionals for Ultimate Peace of Mind
Navigating the intricacies of a comprehensive plumbing maintenance checklist empowers you, as a Denver Metro homeowner or property manager, to take a proactive stance against costly and disruptive plumbing failures. Throughout this guide, we’ve walked through the essential monthly, quarterly, and annual tasks that form the bedrock of a healthy plumbing system. From inspecting faucets and cleaning drains to testing your sump pump and maintaining your water heater, each action is a crucial investment in your property’s longevity and your own peace of mind.
Mastering these routine checks allows you to catch minor issues before they escalate. A slow drain, a faint gurgle, or a subtle drop in water pressure are no longer mysterious annoyances; they are actionable data points. By regularly engaging with your home’s plumbing, you develop an invaluable baseline understanding of its normal operation, making it easier to spot deviations that signal trouble.
Why Your DIY Efforts and Professional Expertise Are a Powerful Combination
Your diligent DIY efforts are the first line of defense, but they are most effective when paired with professional expertise. While you can handle many surface-level tasks, certain diagnostics and repairs require specialized tools and deep institutional knowledge. This is especially true in the Denver area, where our unique environmental factors, such as hard water and expansive clay soil, can present specific challenges that aren’t common elsewhere.
Consider these critical scenarios where a professional partnership is non-negotiable:
- Complex Water Heater Service: While flushing your water heater is a great DIY task, replacing a sacrificial anode rod is a more complex job that prevents internal tank corrosion. A professional can assess the rod’s condition and replace it safely, significantly extending the life of your unit.
- Persistent Low Water Pressure: If you’ve cleaned aerators and checked shut-off valves but still have low pressure, the problem could lie deeper within your system. It could indicate a hidden leak, a failing pressure regulator, or mineral buildup in the main line, all of which require professional diagnostic tools to identify and resolve.
- Main Sewer Line Inspections: Issues like multiple slow drains or sewage odors point to a potential main line clog or damage. A professional plumber uses a specialized sewer camera to visually inspect the entire line for root intrusion, collapses, or blockages, providing a definitive diagnosis that a homeowner simply cannot achieve.
Key Insight: Think of your DIY plumbing maintenance checklist as your home’s regular “health check-up,” and a professional’s annual inspection as the essential “specialist visit.” One complements the other, providing a complete picture of your system’s health.
The Value of a Proactive Partnership
Establishing a relationship with a trusted plumbing partner before an emergency strikes is one of the smartest decisions a homeowner can make. It transforms the dynamic from a frantic, reactive call into a collaborative, proactive strategy. An annual professional inspection ensures that even the most subtle, hard-to-detect issues are identified and addressed. A professional can assess the integrity of pipe joints in your crawlspace, test the pressure relief valve on your water heater with precision, and provide expert advice tailored to your home’s specific age and construction.
This partnership also ensures you have immediate access to help when you need it most. When selecting a plumbing partner, it’s also wise to understand how they manage their communications. For a business to be truly responsive, especially during off-hours emergencies, they need a robust system. To ensure you always have support even when your professional is on a complex job, consider exploring a complete guide to home services answering. This understanding gives you confidence that your chosen pro will be reachable. By following your plumbing maintenance checklist and scheduling these professional reviews, you fortify your home against the unexpected, protecting your investment and ensuring your plumbing system operates efficiently for years to come.
Don’t wait for a small drip to become a major disaster. Partner with Professional Plumber Denver to take your home maintenance to the next level. Our team provides comprehensive inspections that complement your DIY checklist, identifying potential issues before they become costly emergencies. Schedule your annual professional plumbing review with us today and gain the ultimate peace of mind.

Recent Comments