
That banging noise you hear in your pipes? Or a shower that feels more like a light drizzle? That’s not just a minor annoyance—it’s your plumbing trying to tell you something. More often than not, these are classic signs of a water pressure problem, and the fix is usually a simple water pressure regulator adjustment.
Learning to spot these warning signs is the first step toward protecting your pipes and appliances.
What Happens When Your Water Pressure Is Wrong
I like to think of a home’s water pressure like blood pressure. When it’s not in a healthy range, things start to go wrong. For most houses, that sweet spot is between 45 and 55 PSI. Stray too far from that, and you’ll start to notice it in your daily life and, eventually, in your wallet.
The Dangers of High Water Pressure
When your pressure creeps up, especially anything over 60 PSI, it puts a constant, heavy strain on your entire plumbing system. It’s a quiet menace that can do a lot of damage behind the scenes.
- Appliance Damage: Your dishwasher, washing machine, and water heater weren’t built to handle that kind of force. High pressure wears out their internal valves and seals, leading to expensive, premature breakdowns.
- Leaking Faucets and Toilets: That drip… drip… drip isn’t just irritating. It’s a clear signal that the gaskets are being crushed by the constant, excessive force of the water.
- Pipe and Joint Stress: Over time, this intense pressure can weaken joints and connections, sometimes leading to a catastrophic pipe burst. Trust me, that’s a mess you don’t want to deal with.
The Frustrations of Low Water Pressure
On the flip side, low water pressure turns simple tasks into a real drag. While it’s not nearly as destructive as high pressure, it can make your home feel a lot less functional. When your water pressure is too low, it can lead to frustrating experiences like a weak shower. You can learn more about tackling this specific issue by reading about how to increase water pressure in your shower with easy fixes.
A classic example is a shower that can’t seem to rinse the shampoo out of your hair, or a washing machine that takes an eternity to fill up. These aren’t just minor inconveniences; they’re direct evidence that your water isn’t flowing with enough oomph.
Connecting these common household headaches to your water pressure is the key. Once you’ve correctly diagnosed the symptoms, you’re already pointed toward the right solution: adjusting that water pressure regulator.
Gathering Your Tools and Preparing for the Job
https://www.youtube.com/embed/mf-jcsLVp0E
Before you even think about touching that adjustment screw, let’s talk prep. A few minutes of getting organized now will save you a ton of headaches later. This isn’t a job that requires a truck full of gear, but you absolutely need the right tools on hand to do it safely and accurately.
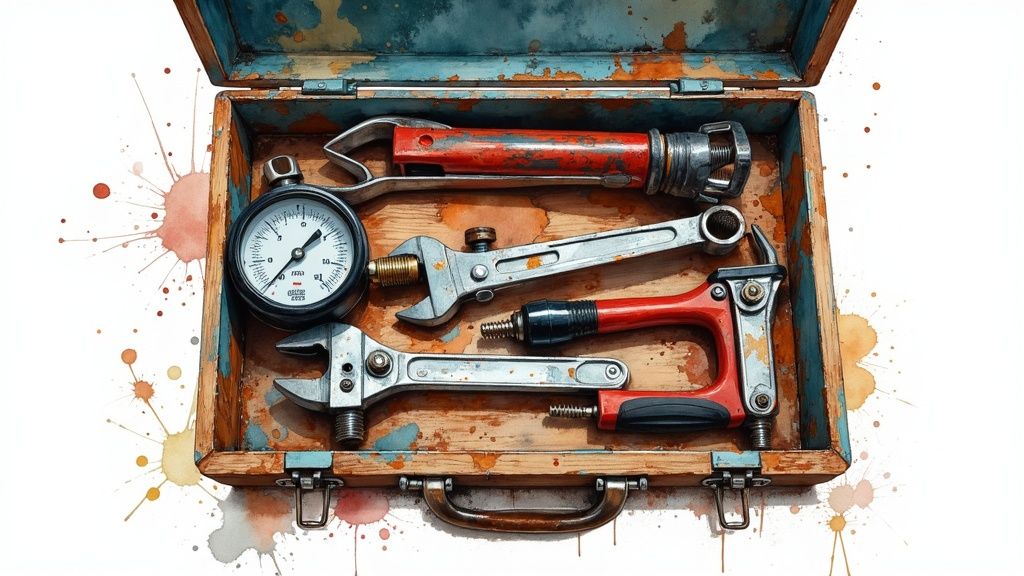
First things first: you can’t do this job without a good water pressure gauge. Seriously, this is non-negotiable. Trying to adjust the pressure by “feel” is a recipe for disaster, potentially damaging your pipes and appliances. You’ll need one that screws right onto a hose bib, like the one on the side of your house or by your washing machine.
Your Essential Toolkit
With the gauge in hand, you just need a couple of other common tools. Go grab them now so you aren’t running back to the garage with water turned off.
- Adjustable Wrenches: It’s best to have two of these. You’ll often need one to grip the body of the regulator to keep it from turning, while the other loosens the locknut on the adjustment screw.
- Screwdriver: Take a quick look at the top of your regulator. The adjustment screw will either have a slot for a flathead screwdriver or it’ll be a hex head that needs a wrench. Grab the right tool for your specific model.
Having these basics covered is a great first step for any DIY plumbing fix. If you’re looking to build out a more complete kit, we put together a guide on the essential plumbing tools every homeowner should own.
Here’s a pro tip that’s easy to forget: Before you start, give everyone in the house a heads-up not to use any water. A toilet flushing or a sink turning on will instantly change the pressure reading and make your adjustments inaccurate.
Finally, a little cleanup prep goes a long way. Grab a bucket or a couple of old towels and place them under the work area. You shouldn’t have any major leaks, but it’s smart to be ready for the few drips that will inevitably come when you connect and disconnect the gauge. A little preparation makes all the difference.
How to Find and Test Your Water Pressure
Before you can even think about adjusting your home’s water pressure, you’ve got to play detective. The first mission is to find your water pressure regulator, which is often called a pressure reducing valve or PRV.
Look for a bell-shaped, brass fixture right where the main water line enters your house. Common hiding spots are basements, crawl spaces, and utility closets, almost always near your main water shut-off valve.
Once you’ve found it, you need a baseline reading. There’s no point in making adjustments if you don’t know where you’re starting from. Getting an accurate measurement of your home’s static water pressure is the crucial first step.
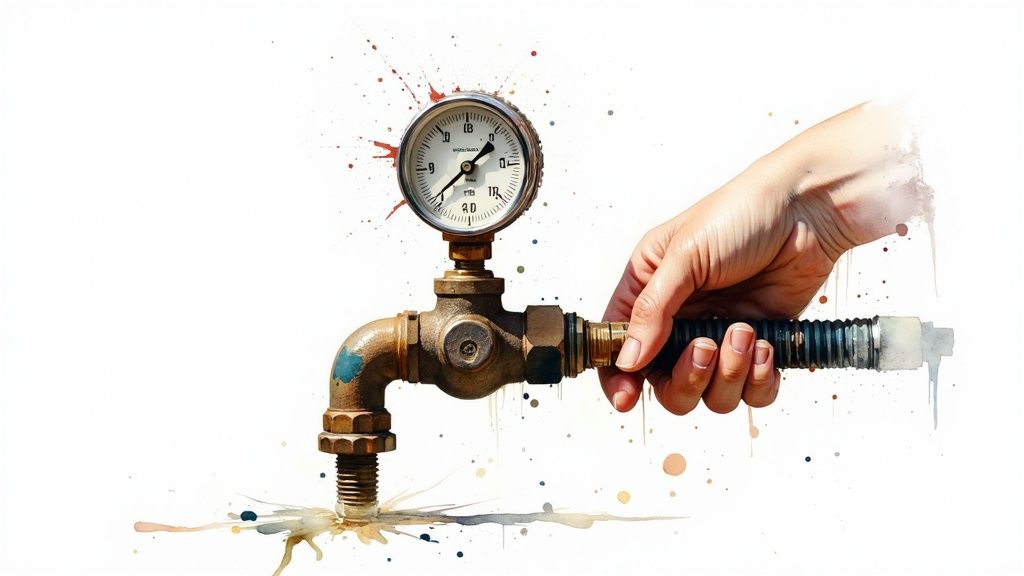
Taking Your Baseline Pressure Reading
To get this number, you’ll need a simple water pressure gauge, which you can find at any hardware store.
- Screw the gauge onto an outdoor hose spigot. Make sure it’s snug to prevent leaks.
- Double-check that every faucet, shower, and water-using appliance (like the dishwasher or washing machine) is turned off. You need a “static” reading, which measures the pressure when the water isn’t flowing anywhere.
- Turn the spigot on all the way.
The needle on the gauge will jump, giving you the current water pressure in PSI (pounds per square inch). This is your starting point. Without it, you’re just flying blind. For a more detailed walkthrough, check out our complete guide on how to test your water pressure.
Expert Tip: Jot down this initial PSI reading on a piece of paper or in your phone. You’ll need to reference this number with every adjustment you make to know if you’re heading in the right direction.
What Your PSI Reading Means
Now that you have your number, it’s time to figure out what to do next. Most home plumbing systems are happiest operating between 45 and 55 PSI.
- Pressure over 60 PSI: That’s too high. This kind of pressure puts unnecessary stress on your pipes, fixtures, and appliances, leading to leaks and premature failure. You’ll definitely want to dial it back.
- Pressure below 40 PSI: This is on the low side. You’re likely experiencing weak showers and slow-filling appliances. An adjustment to increase the pressure will make a big difference.
- Pressure between 45-55 PSI: This is the sweet spot. If your pressure is in this range and you aren’t having any issues, it’s best to leave it alone.
Not sure if your home’s quirks are pressure-related? This table breaks down common symptoms and what they might mean.
Water Pressure Symptoms and Ideal PSI Range
| Symptom | Likely Pressure (PSI) | Recommended Action |
|---|---|---|
| Banging pipes (water hammer) | 75+ | Immediate reduction required to prevent damage. |
| Leaky faucets or running toilets | 60+ | Lower the pressure to the ideal range. |
| Weak shower stream | Below 40 | Increase the pressure for better flow. |
| Clothes washer fills slowly | Below 40 | Adjust regulator to bring pressure into the 45-55 range. |
As you can see, a lot of common household plumbing problems trace right back to your water pressure. Getting it right is one of the best things you can do for the long-term health of your home.
Alright, you’ve got your baseline pressure reading. Now for the hands-on part: fine-tuning the regulator. This is a game of patience and small tweaks, not a race. Trying to rush it is the quickest way to overshoot your target.
The adjustment mechanism itself is pretty simple. You’ll see a locknut and an adjustment screw on the top of the regulator. Grab your wrench and gently loosen that locknut just enough so the adjustment screw can turn.
The Quarter-Turn Rule
Now you can start making adjustments. The golden rule here is:
- Clockwise turns increase the pressure.
- Counter-clockwise turns decrease the pressure.
The real trick is to go slow. We’re talking about tiny, quarter-turn increments. You’d be surprised how much of a difference even a small turn can make to the PSI.
This is all about a simple, repeatable process: loosen the locknut, make a tiny adjustment, and then check your work.

After every single quarter-turn, head back to your pressure gauge to see the new reading. This back-and-forth is non-negotiable. It’s what keeps you from overshooting the mark and turning a high-pressure problem into a low-pressure one.
Think of it this way: If your starting pressure is a pipe-straining 85 PSI and you’re aiming for a much safer 55 PSI, your first counter-clockwise turn might only drop it to 78 PSI. The next one might get you to 70 PSI. You just keep repeating this careful process until you land squarely in your target zone.
Once you’ve nailed that sweet spot—ideally somewhere between 45 and 55 PSI—your last step is to tighten the locknut back up. Make sure to hold the adjustment screw steady as you do, so your perfect setting doesn’t budge.
More Than Just a Good Shower
Getting your water pressure right isn’t just a matter of comfort; it’s a critical part of home maintenance and being smart about water use. When the pressure is properly set, you put far less strain on your entire plumbing system, which helps your pipes, fixtures, and appliances last longer.
This kind of precise control is so important that the global market for water pressure regulators was valued at around $2.5 billion. As cities grow and water conservation becomes even more critical, you can see why this simple device is so essential. You can learn more about the growing importance of water pressure regulators and their impact.
By spending a few minutes on this simple adjustment, you’re doing more than fixing a problem. You’re making a smart investment in the health and efficiency of your home.
What to Do When the Adjustment Fails
So, you’ve tried to adjust your water pressure regulator, but nothing is happening. It can be a real head-scratcher. Maybe the adjustment screw won’t budge, or you turn it and get absolutely no change on your pressure gauge.
This isn’t just a minor hiccup. When this happens, it’s a sure-fire sign the regulator itself has probably given up the ghost.
Another classic symptom we see in the field is something called “pressure creep.” This is when you dial the pressure down to a perfect 50 PSI, feel good about it, and then check again an hour later only to find it’s snuck back up to 70 PSI. That’s not something you did wrong—it means an internal part, like a seal or spring, has failed and the valve just can’t hold the pressure steady anymore.
Signs It’s Time for a Replacement
If your adjustments aren’t working, you’ve moved past a simple DIY fix. It’s time to stop fiddling with that screw and start thinking about a replacement. Here’s what to look for:
- The Adjustment Screw is Seized: If it’s completely stuck, it’s likely due to corrosion or mineral buildup. Forcing it will only lead to a broken part.
- Turning the Screw Does Nothing: You can turn it all you want, but if the gauge doesn’t move, the internal diaphragm is probably shot.
- You’ve Got Pressure Creep: The pressure just won’t stay where you set it. This tells you the valve can no longer do its one job: regulate.
Once you spot these issues, it’s critical to accept that the regulator is toast. Trying to force a broken valve can cause a much bigger problem, like a major leak.
At this stage, your best and safest bet is to call in a licensed plumber. While adjusting a regulator is a fantastic skill for a homeowner, a full replacement means cutting pipes and requires a pro’s touch. A stubborn high-pressure problem can also cause hidden issues, so it’s always a good idea to know what’s involved in a water line leak repair.
The silver lining is that today’s regulators are a huge leap forward from older models. We’re even starting to see IoT-enabled regulators hit the market, which can offer real-time monitoring and alert you to problems before they get serious. If you’re curious, you can get more details on the shift toward smart pressure regulation on reportsanddata.com.
Common Questions About Water Pressure
Over the years, I’ve heard just about every question you can imagine when it comes to home water pressure. Let’s tackle a few of the most common ones that come up.
What’s the Best Water Pressure for My House?
The sweet spot for most homes is right between 45 and 55 PSI. It’s enough for a great shower without putting a strain on your system.
Once you start creeping over 60 PSI, you’re really just causing extra wear and tear on your pipes, faucets, and appliances. On the flip side, anything below 40 PSI is what leads to those frustratingly weak showers. While your city might technically allow pressures up to 80 PSI, I always advise homeowners to keep it lower. It’s a simple way to protect your plumbing and avoid expensive repairs down the line.
How Often Should I Check the Pressure?
Making this an annual check is a fantastic habit to get into. Think of it like changing your smoke detector batteries—a quick, simple task that prevents bigger headaches.
You’ll also want to grab your gauge anytime you notice something’s off. If your shower suddenly feels weak, you hear pipes banging, or you know the city has been doing work on the water main, it’s a good idea to check. Those external changes can definitely affect the pressure hitting your house.
Is Replacing a Water Pressure Regulator a DIY Job?
Adjusting the regulator? Absolutely. That’s a task most homeowners can handle with just a few basic tools.
Replacing the entire unit, however, is a different story. This usually involves cutting, fitting, and soldering copper pipes, which takes a fair bit of skill and the right equipment. If you’ve run through the tests and it looks like your regulator has failed, my honest advice is to call in a licensed plumber. It’s one of those jobs where it pays to have it done right the first time.
If you find that your regulator has given up the ghost, or if you’d just rather leave it to a pro, we’re here to help. Professional Plumber Denver provides top-notch service for everything from quick adjustments to full-scale replacements. Give us a call to get your home’s plumbing system running smoothly and safely.
You can reach us at https://professional-plumbers-denver.com.

Recent Comments